Transferring a domain from GoDaddy to Hostinger involves a few steps. Please note that the process may vary slightly based on the specific interfaces of both hosting providers. Here’s a general guide to help you:

Table of Contents
ToggleStep By Step How To Transfer Domain From Godaddy To Hostinger:
Transferring Domain: A Methodical Guide from GoDaddy to Hostinger
Step 1: Unleash Your Domain on GoDaddy
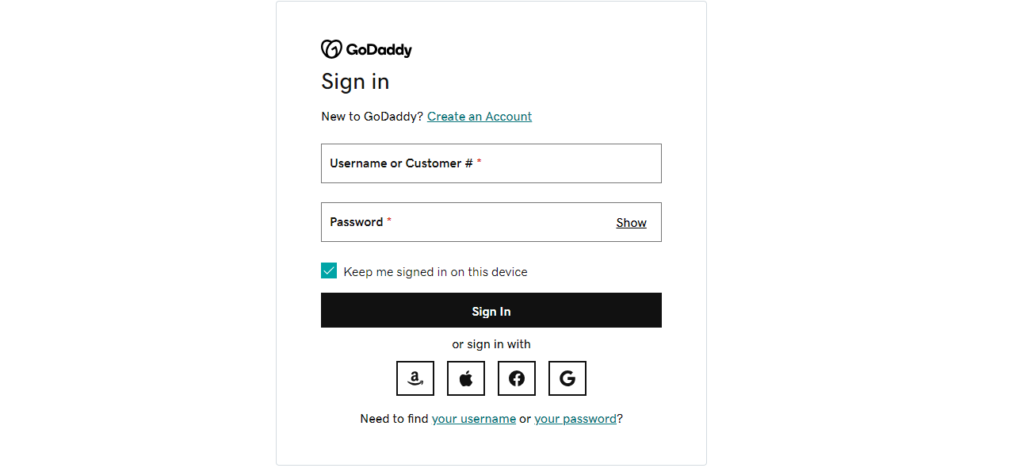
Access your GoDaddy account and navigate to the “Domains” section. Identify the target domain and ascertain that it stands unlocked. Should it be otherwise, unlocking becomes imperative.
Step 2: Acquire the Authorization Code (EPP Code)
Within the GoDaddy dashboard, locate the chosen domain and uncover the option to obtain the authorization code, occasionally referred to as the EPP code. This code is pivotal for the impending transfer; hence, request it and duly record the details.
Step 3: Deactivate Privacy Protection (If Activated)
If privacy protection, or WHOIS privacy, is enabled on GoDaddy, deactivate it. This guarantees the visibility of your contact information during the transfer process.
Step 4: Revise Contact Information (Optional)
It’s prudent to verify that the contact information associated with the domain is current.
Unlock Substantial Savings of Up to 87% Without a Hostinger Coupon Code | Avail Hostinger Referral Link
Step 5: Access Hostinger
Log in to your Hostinger account and proceed to the domain management section.
Step 6: Instigate the Transfer
Explore for an option akin to “Transfer Domain” or “Add Existing Domain” on Hostinger. Specify the domain name earmarked for migration. Upon request, input the authorization code and adhere to the ensuing instructions.
Step 7: Validate the Transfer
Anticipate an email from Hostinger prompting validation of the domain transfer. Adhere to the instructions outlined in the email to confirm the impending transfer.
Step 8: Patiently Await the Completion of the Transfer
The domain transfer procedure may span several days. Track the progress through your Hostinger account.
Step 9: Revise DNS Settings (Optional)
Following the transfer’s completion, you might need to update DNS settings on Hostinger if your website is hosted there.
Effortlessly Install WordPress on Localhost ( Localhost/wordpress ) On Your PC (Free)
Essential Pointers:
- Ensure ample time remains before your domain expires to conclude the transfer.
- Vigilantly monitor emails from both GoDaddy and Hostinger for any verification or confirmation steps.
- Refer to the documentation provided by both GoDaddy and Hostinger for the most precise and current instructions. The steps outlined here offer a broad guideline and may not encompass all potential scenarios.
Unlock Savings of Up to 87% Without Hostinger Coupon Code |Get Hostinger Referral Link
Domain Transfer Demystified: Unveiling the Why and How
1. Decoding Domain Transfer:
Answer: A domain transfer constitutes the relocation of your domain name from one registrar to another, involving a shift in domain registration services while retaining ownership and control.
2. Motivations Behind Domain Migration:
Answer: People embark on domain transfers for various reasons, encompassing the pursuit of better pricing, enhanced customer support, additional features, or the consolidation of domain management under a single provider.
3. Temporal Dimensions of Domain Transfer:
Answer: The duration of a domain transfer spans from a few days to a potential two weeks, contingent upon factors such as registrar policies, responsiveness of involved parties, and the necessity for supplementary verification steps.
4. Unveiling the Authorization Code (EPP Code):
Answer: The Authorization Code, alias EPP (Extensible Provisioning Protocol) code, functions as a security credential indispensable for initiating a domain transfer. It serves as a verifying password, affirming the requester’s authority.
5. Procuring the Authorization Code:
Answer: Typically, the Authorization Code can be procured from the current domain registrar’s dashboard. Locate an option in the domain management section akin to “Get EPP code” or “Authorization Code.”
6. Transfer Feasibility with a Locked Domain:
Answer: A locked domain precludes the possibility of transfer. Prior to commencing a transfer, ensure the domain is unlocked, usually accomplished through the control panel of the existing registrar.
7. Website and Email Continuity Amid Transfer:
Answer: The transfer process should leave your website and email services unaffected. It is imperative, however, to update DNS settings if your website is hosted with a provider distinct from your domain registrar.
8. Renewal Imperatives in Domain Transfer:
Answer: Typically, domain transfer does not auto-renew. It is advisable to verify the expiration date and effectuate renewal as necessary before or after the transfer.
9. Mitigating Risks in Domain Transfer:
Answer: When executed correctly, the likelihood of losing a domain during transfer is minimal. Precision in following transfer instructions, possession of the Authorization Code, and adherence to guidelines are paramount to avert complications.
10. Status Surveillance of Domain Transfer:
Answer: Monitoring the status of your domain transfer is typically accessible in the control panel of the receiving registrar, denoted as “Pending,” “Approved,” or “Complete.”
